


Creating a GIF: simple, fast and effective
A successful GIF draws attention, conveys a clear message, and adds a dynamic touch to your communications. But it all starts with choosing the right tool. Here is our selection of the three best tools to easily create a GIF banner in 600x200 px format, ideal for your emails and signatures.
1. Canva: accessible and intuitive
Canva is a must-have for beginners. Its simple interface and its numerous integrated resources allow you to create GIFs in a few clicks.
Advantages:
- Free in its basic version.
- Intuitive interface, perfect for non-graphic designers.
- Extensive library of templates and graphic elements.
Disadvantages:
- Advanced features only available with the paid subscription.
- Limited animation options.
How to create a GIF with Canva:
- Sign in or create a Canva account.
- Click on “Create a design” and set custom dimensions (600x200 px).
- Add your graphics, text, and images.
- Use the tab “Animate” to apply simple animations.
- Preview your creation to see how smooth the animation is.
- Export your file by selecting GIF In the option Share > Download.
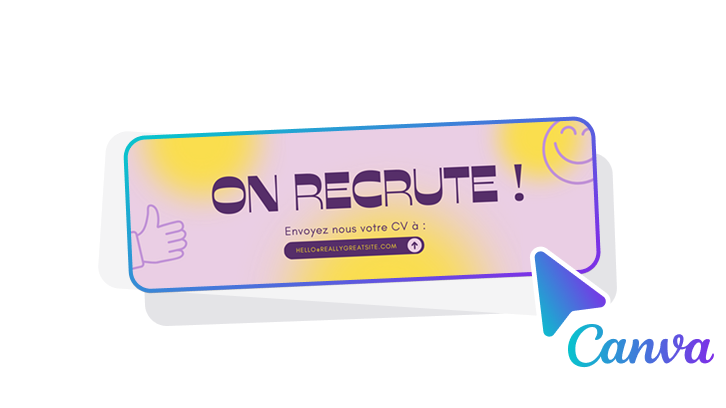
{{ban}}
2. Figma: collaboration and simplicity
Figma, often used for interface design, also allows you to create GIFs. It's a great choice for collaborative teams and creatives who are used to this tool.
Advantages:
- Integration into a collaborative workflow.
- Great for familiar Figma users
- Dedicated plugins to simplify the creation of GIFs.
Disadvantages:
- Less suitable for complex animations.
How to create a GIF with Figma:
- Install the plugin “Animated GIF Maker” from the Figma community.
- Create a new model with custom dimensions (600x200 px).
- Add your graphics and set up the transitions between layers.
- Use the plugin to adjust the animation parameters (duration, speed, etc.).
- Preview your GIF to ensure the best results.
- Export directly in GIF format via the plugin.
3. Adobe Photoshop: quality and precision
Photoshop remains the reference for professional GIFs. Its precise control of frames and colors makes it an essential tool for high-end creations.
Advantages:
- Advanced layer and frame management.
- Professional quality.
- Limitless customization options.
Disadvantages:
- Paid.
- Learning curve to master advanced features
How to create a GIF with Adobe Photoshop:
- Open Photoshop and create a new document (600x200 px).
- Upload your images or videos to distinct layers.
- Open the window “Timeline” via the menu “Window > Assembly”.
- Select “Create an image animation” and configure each frame.
- Adjust the duration and order of the visible layers for each frame.
- Preview your GIF by clicking on the button Reading.
- Export via “File > Export > Save for Web”.
- Optimize settings (compression, colors) for a lightweight file.
- Test your GIF to see if it's displayed in your emails.
Conclusion: which tool should you choose?
- Beginners: Canva is your best ally for quick and simple GIFs.
- UX/UI collaboration and workflow: Figma offers functionalities adapted to creative teams.
- Demanding professionals: Photoshop ensures total control and premium results.
Whichever tool you choose, follow best practices for lightweight, smooth GIFs that are compatible with your media. So, ready to animate your projects?