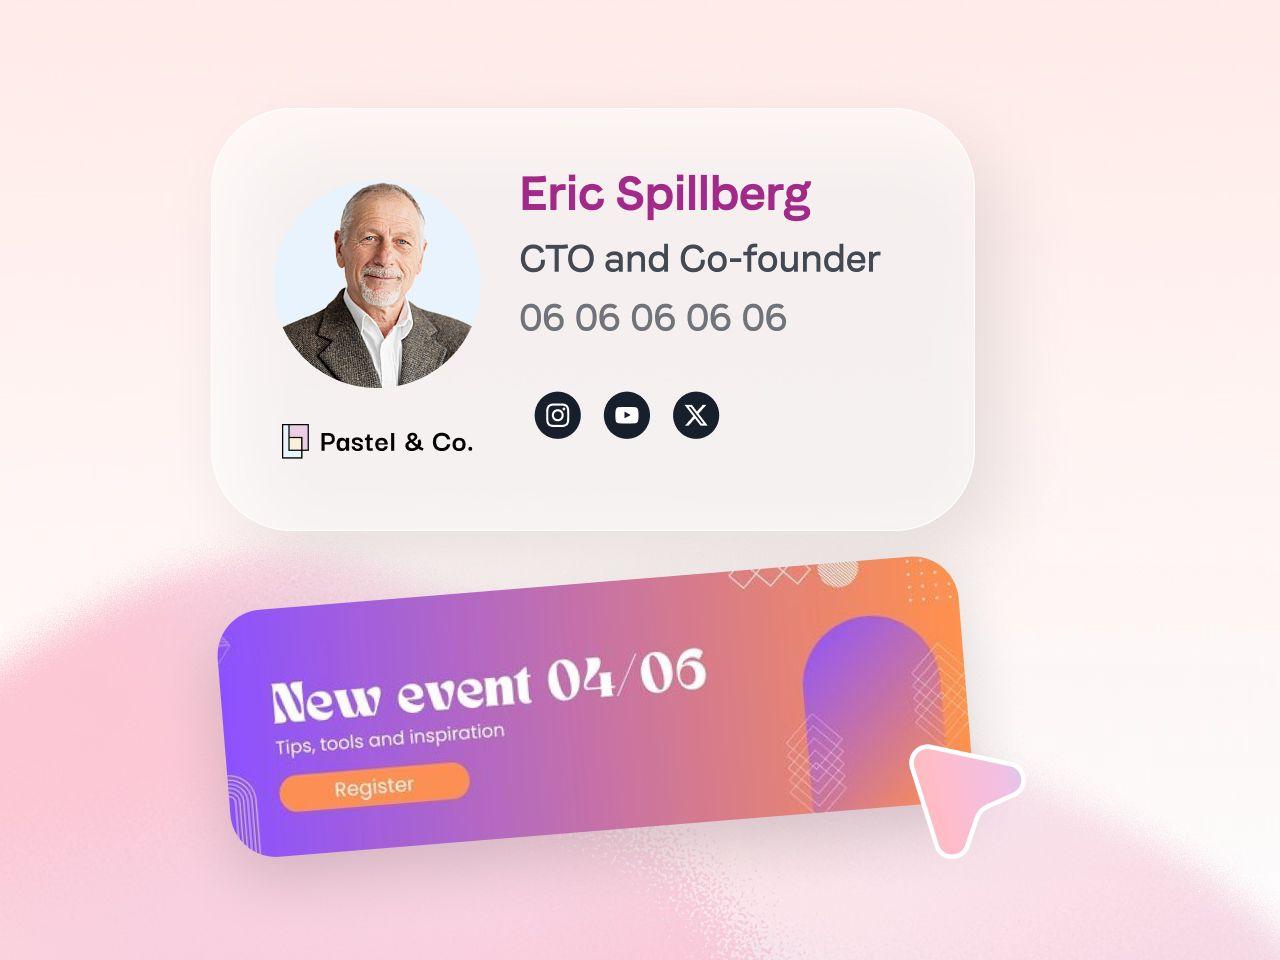
Why add a GIF to your email signature?
A GIF in an email signature is an opportunity to make an impression and boost your communications. However, for this asset to remain effective, it must respect certain rules. Poor optimization can slow the display, alter the quality, or worse, make the GIF incompatible with some email clients.
With our Complete checklist, you will be sure to create GIFs that are light, smooth and effective.
The ultimate checklist for GIFs in your email signatures
1. Respect the optimal dimensions: 600 x 200 px maximum
Your GIFs must be adapted to the limited space of email signatures. A size of 600 x 200 pixels guarantees good readability on all media (desktop, mobile, tablet) without making the file heavier.
2. Limit to 10 frames maximum
An effective GIF doesn't have to be a complex animation.
- Why? More frames = a bigger file.
- Tip: Reduce unnecessary frames to make your GIF lighter while maintaining smooth animation.
{{ban}}
3. Choose a simple and refined design
Opt for minimalist graphic elements:
- Contrasting colors.
- A legible font.
- Soft and clear animations.
An overloaded design could distract or even slow down its display.
4. Add a committed and relevant CTA
A GIF in an email signature should encourage action.
- Examples of CTAs:
- “Discover our offer”
- “Make an appointment”
- “Follow us”
Make sure your CTA is redirecting to the correct page.
5. Check the memory weight of the GIF
The memory weight directly influences the speed at which the GIF is displayed.
- Use a tool like EZGIF or a dedicated solution such as Signitic to calculate and optimize memory weight.
- Stay under 1 MB for a fast and smooth display.
6. Optimize the size of the GIF file
Even a lightweight GIF can be optimized:
- Reduce unnecessary frames.
- Limit the color palette (64 or 128 colors are enough).
- Compress the file with a tool like ImageOptim or the “Lossy GIF” feature on EZGIF.
7. Remove metadata
Unnecessary metadata adds weight to your file without adding value.
- Remove them with a tool like Raw Pics IO Metadata Remover to gain some precious kilobytes.
8. Test your GIF before airing
Make sure your GIF works on all email clients:
- Test on different platforms: Gmail, Outlook, Apple Mail, etc.
- Also check the compatibility on mobile and desktop.
9. Use Signitic for effective delivery
Simplify the whole process with a tool like Signitic :
- Upload your GIF directly into your email campaign.
- Take advantage of a gauge that analyzes weight and flow in real time.
- Centralize your signatures and deploy them to all your emails in one click.
Why is this checklist essential?
A poorly designed GIF can damage the user experience, reduce the effectiveness of your email, and damage your brand image. With these 9 steps, you have a simple, fast, and effective method to ensure that your GIFs captivate without overloading.
Conclusion: make your signatures a visual asset
A well-designed GIF can turn an ordinary email signature into a powerful marketing tool. Respect this checklist to optimize your GIFs and capture the attention of your recipients with each email sent.
Ready to create signature GIFs that stand out? Get started today!


